2025 Excel Calendar Canada: A Comprehensive Guide
2025 Excel Calendar Canada: A Comprehensive Guide
Related Articles: 2025 Excel Calendar Canada: A Comprehensive Guide
- University Of Utah 2025-2026 Academic Calendar
- April 2025 Calendar Excel: A Comprehensive Guide
- Calendario 2025: A Comprehensive Guide To The Gregorian Calendar
- App State School Calendar 2025-2026: A Comprehensive Guide
- The Roman Catholic Calendar Of 2025
Introduction
With enthusiasm, let’s navigate through the intriguing topic related to 2025 Excel Calendar Canada: A Comprehensive Guide. Let’s weave interesting information and offer fresh perspectives to the readers.
Table of Content
Video about 2025 Excel Calendar Canada: A Comprehensive Guide
2025 Excel Calendar Canada: A Comprehensive Guide
Introduction
Microsoft Excel is a powerful spreadsheet software that can be used for a variety of tasks, including creating and managing calendars. The Excel calendar template is a versatile tool that can be customized to meet your specific needs. In this article, we will provide a step-by-step guide on how to create a 2025 Excel calendar for Canada.
Step 1: Open Excel and Create a New Workbook
To create a new Excel calendar, open the Microsoft Excel application and click on the "File" tab. Then, select "New" and choose the "Blank workbook" template.
Step 2: Set Up the Calendar Layout
The first step in creating a calendar is to set up the layout. To do this, you will need to create a table with 12 rows and 7 columns. The rows will represent the months of the year, and the columns will represent the days of the week.
To create the table, click on the "Insert" tab and select "Table." Then, drag the mouse to select the 12 rows and 7 columns.
Step 3: Format the Calendar
Once you have created the table, you can format it to make it look like a calendar. To do this, you can use the "Format" tab to change the font, color, and borders of the cells.
You can also add a header to the calendar by clicking on the "Insert" tab and selecting "Header & Footer." Then, enter the text that you want to appear in the header.
Step 4: Add the Dates
The next step is to add the dates to the calendar. To do this, you can use the "Fill" tool. To access the Fill tool, click on the "Home" tab and select "Fill." Then, select "Series" from the drop-down menu.
In the "Series" dialog box, select "Date" from the "Type" drop-down menu. Then, enter the start date and end date for the calendar.
Step 5: Add Holidays and Events
Once you have added the dates to the calendar, you can add holidays and events. To do this, you can use the "Conditional Formatting" tool. To access the Conditional Formatting tool, click on the "Home" tab and select "Conditional Formatting." Then, select "New Rule" from the drop-down menu.
In the "New Formatting Rule" dialog box, select "Use a formula to determine which cells to format" from the "Select a Rule Type" drop-down menu. Then, enter the following formula into the "Format values where this formula is true" text box:
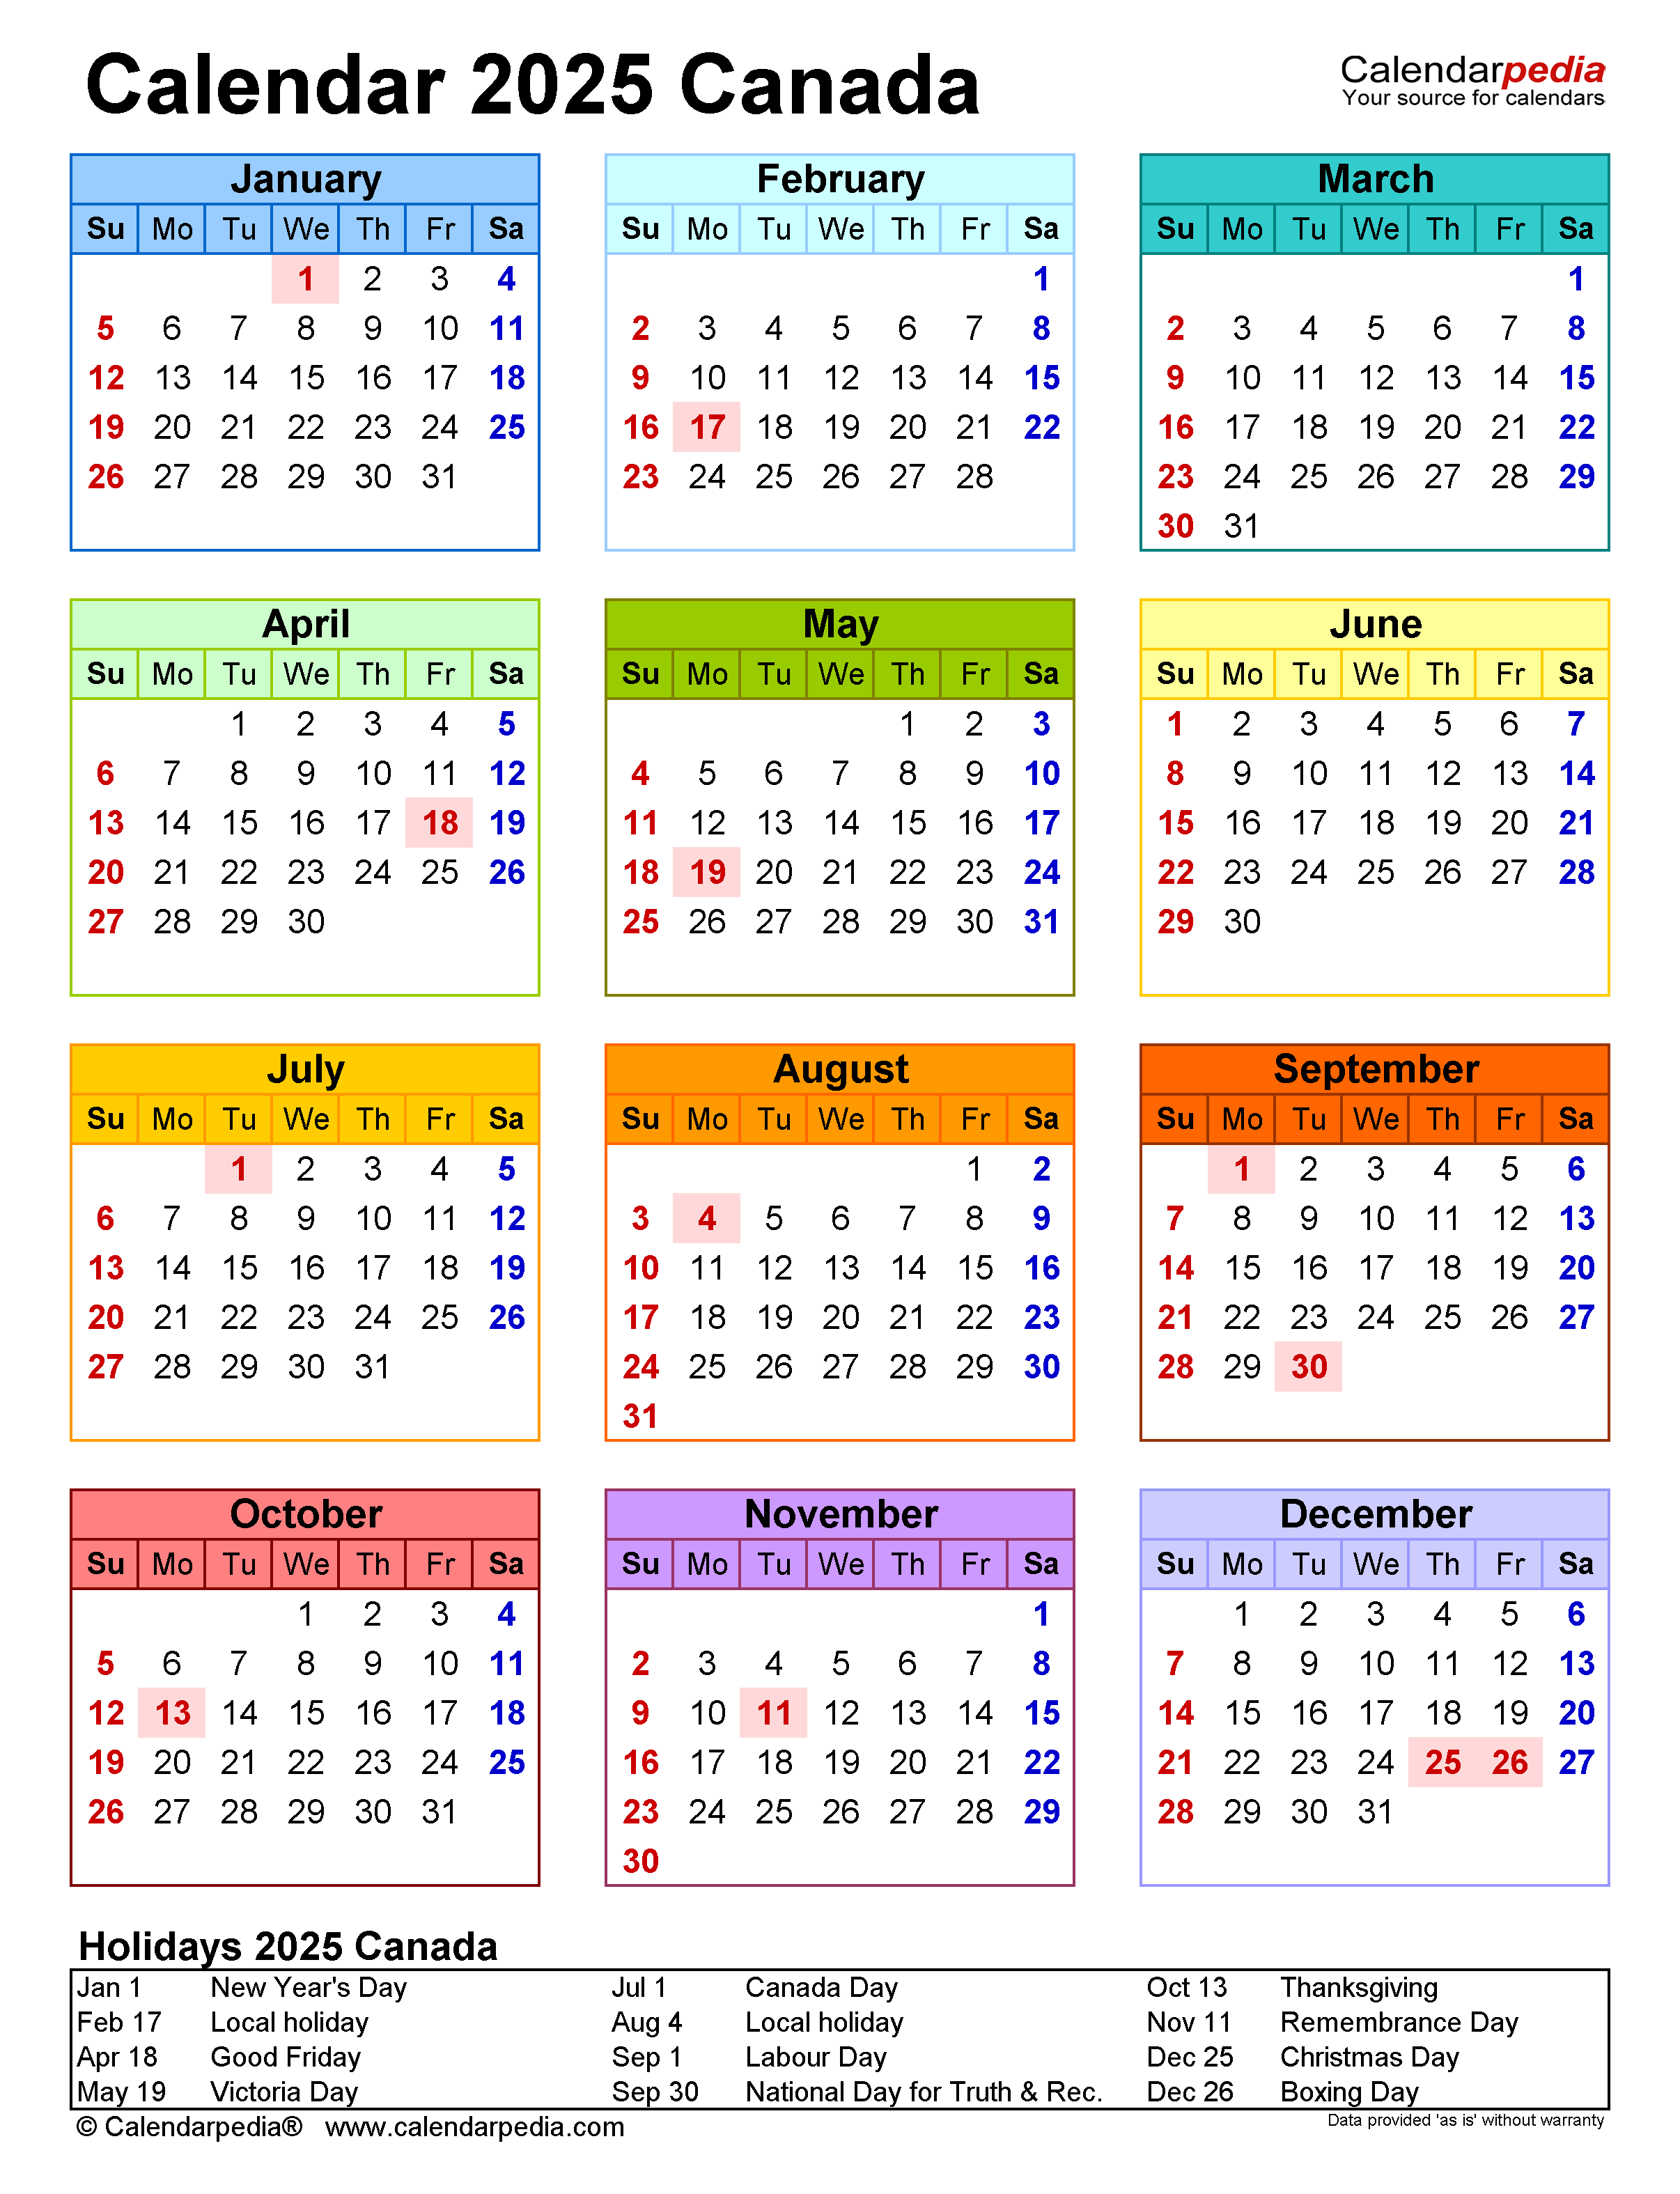
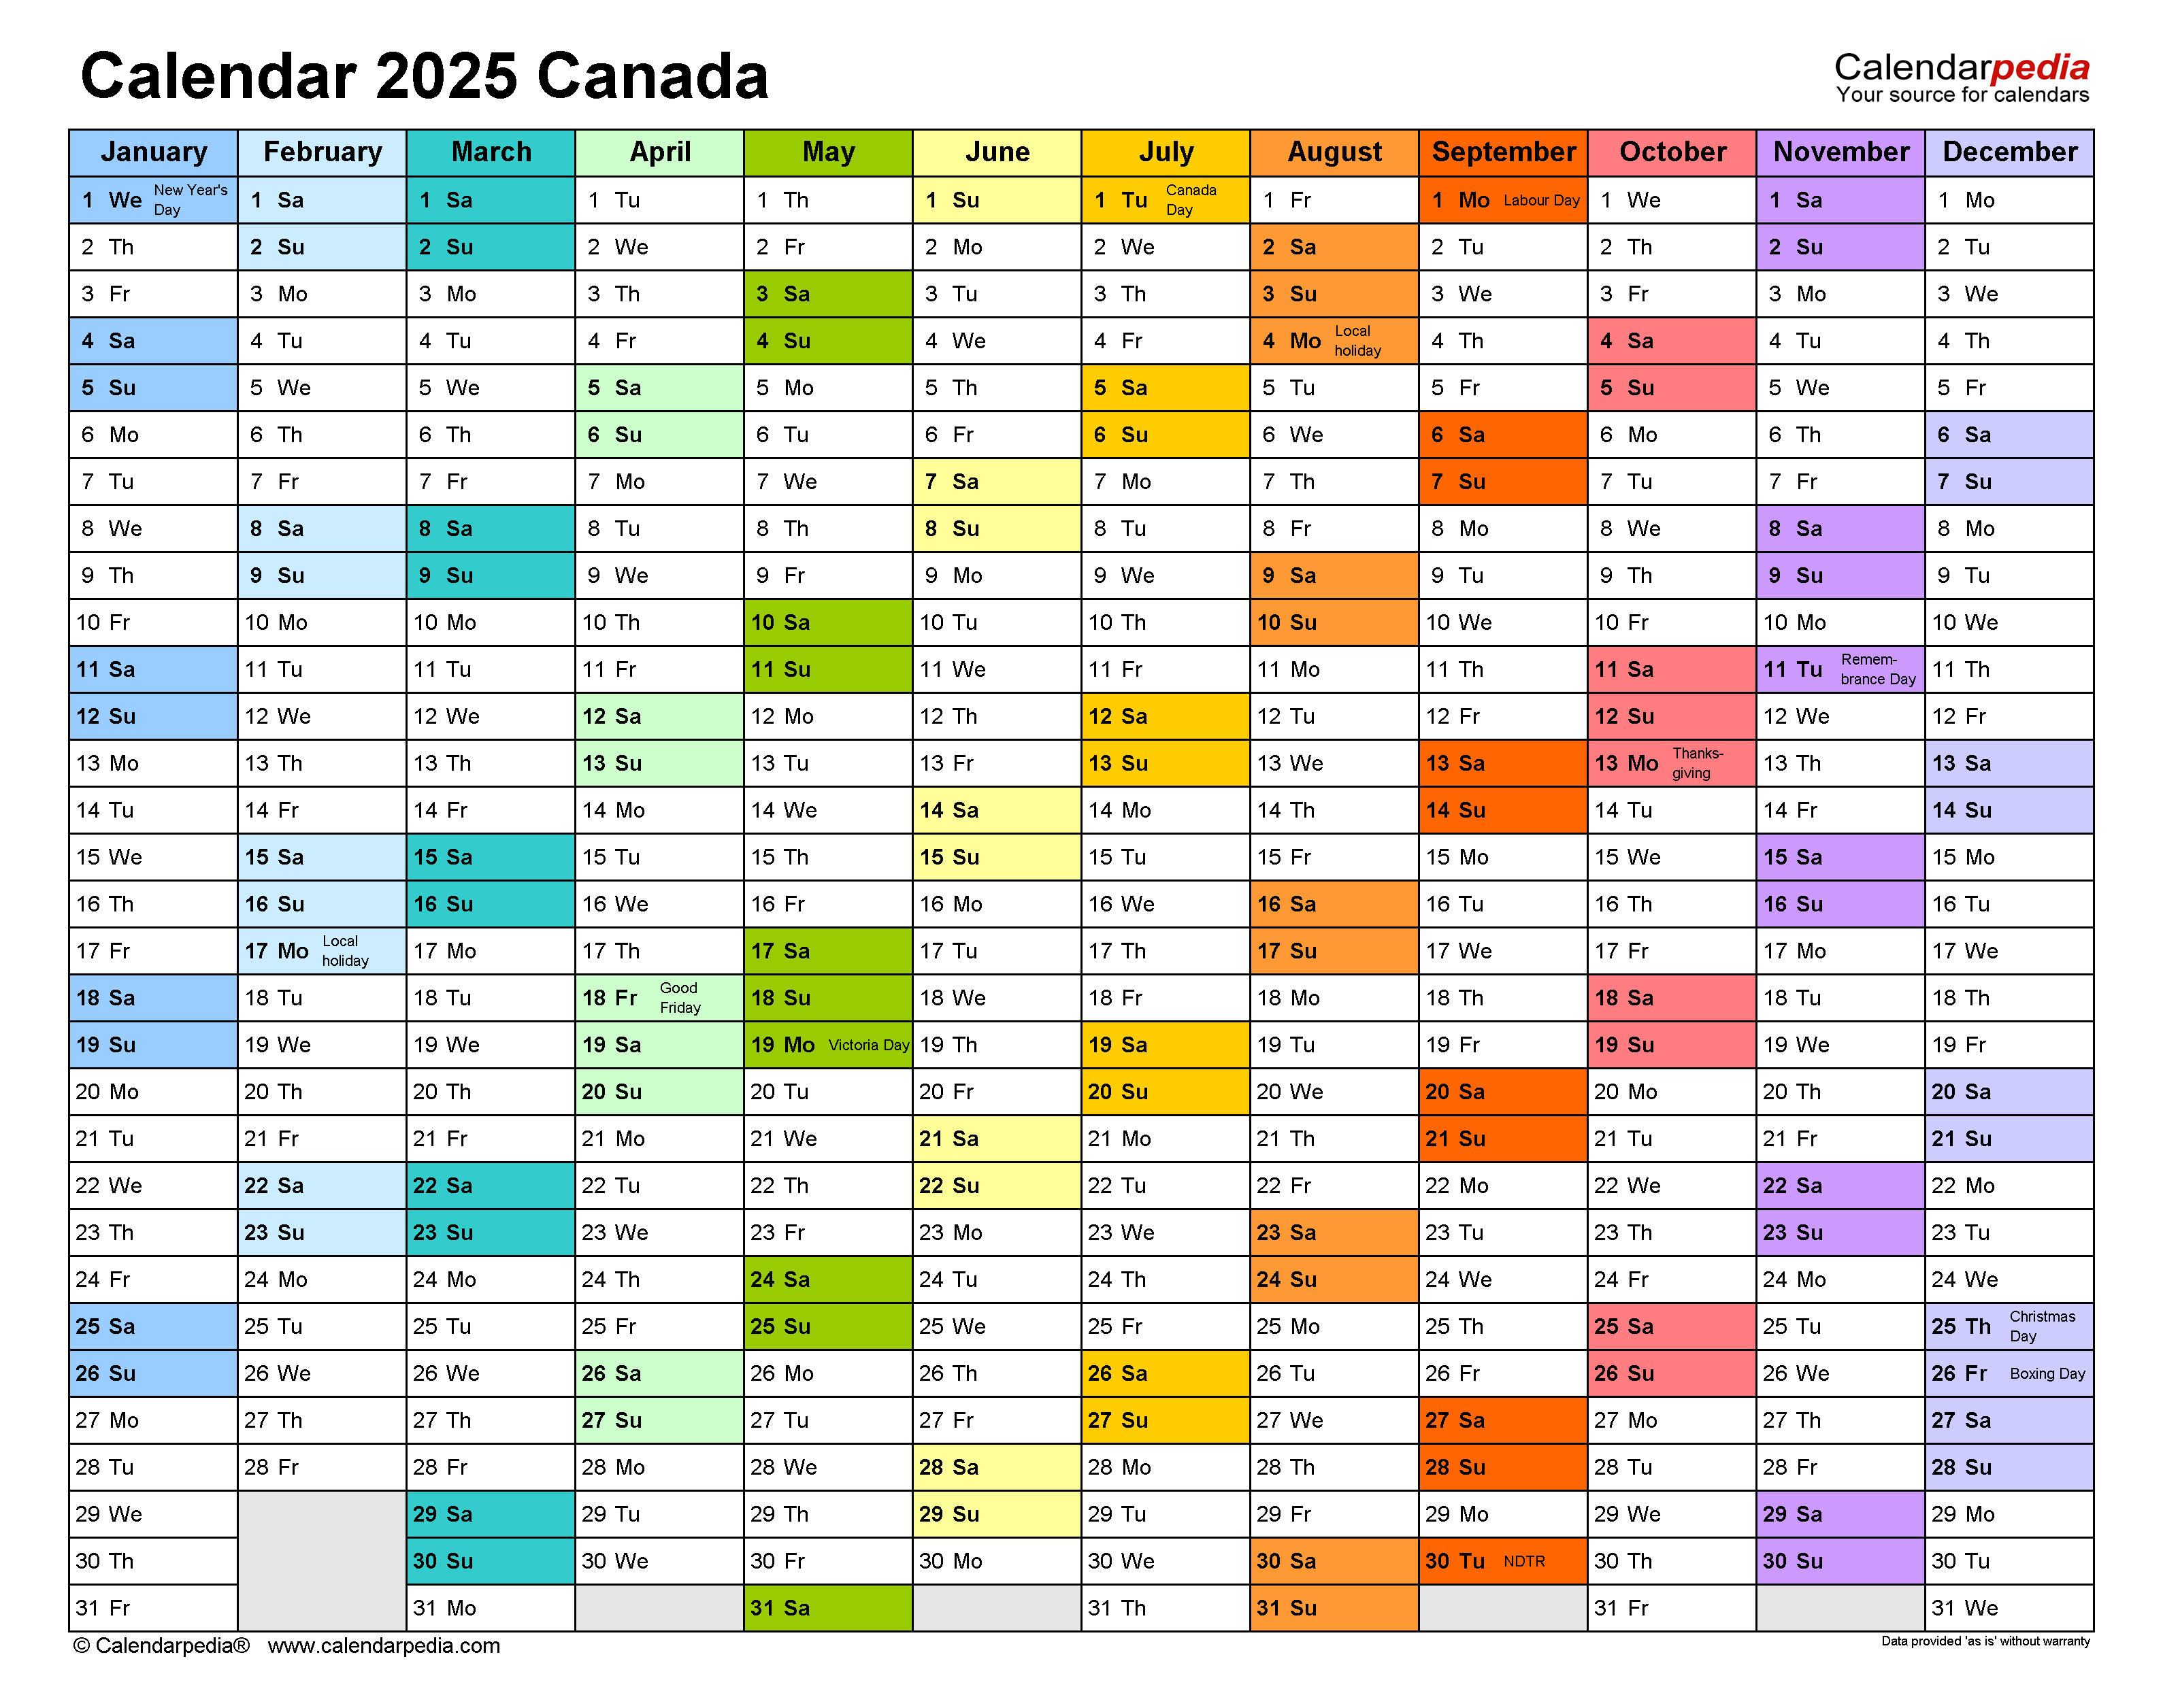
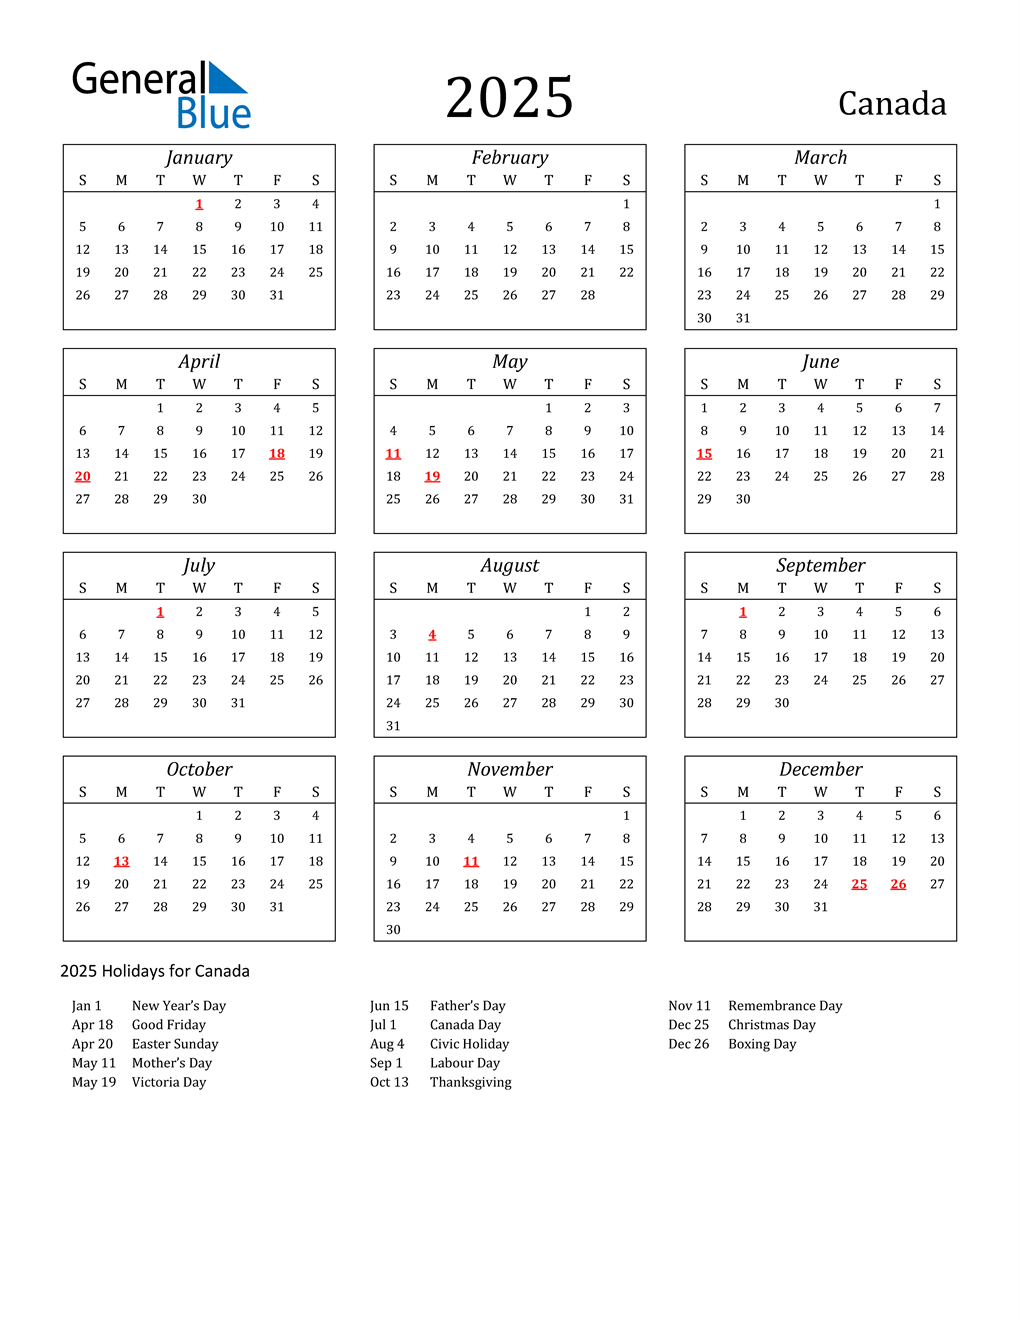
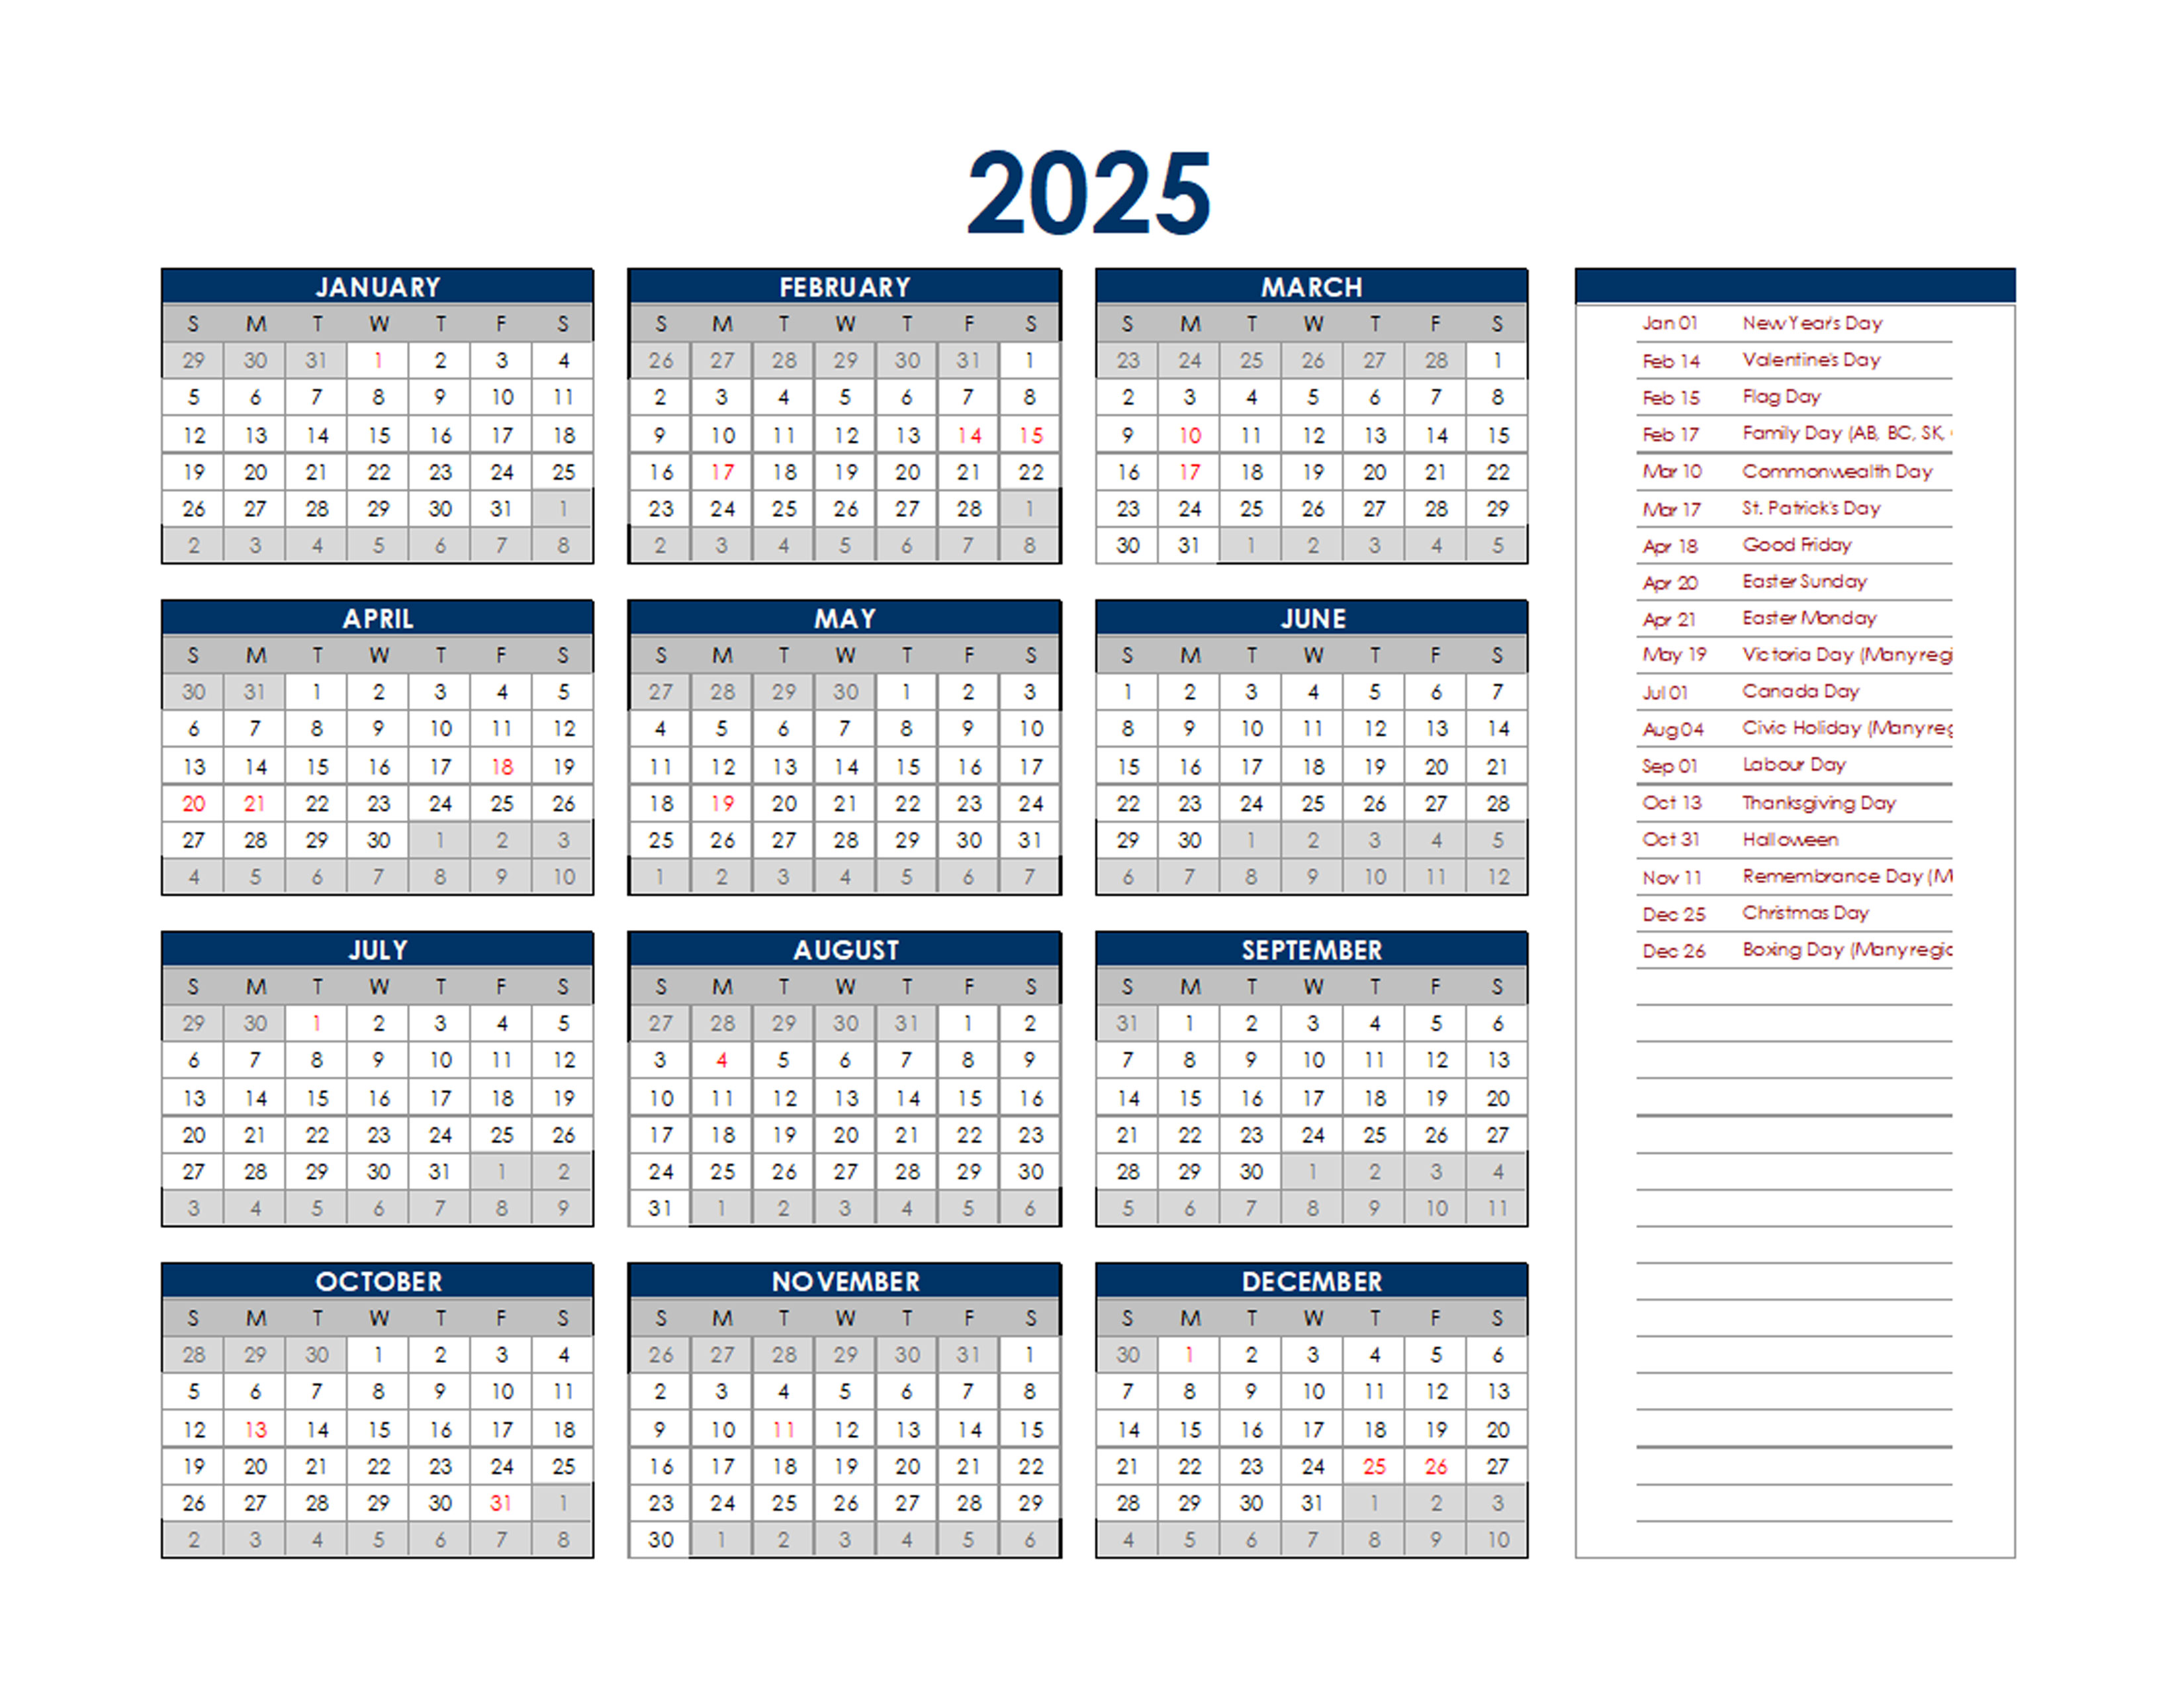
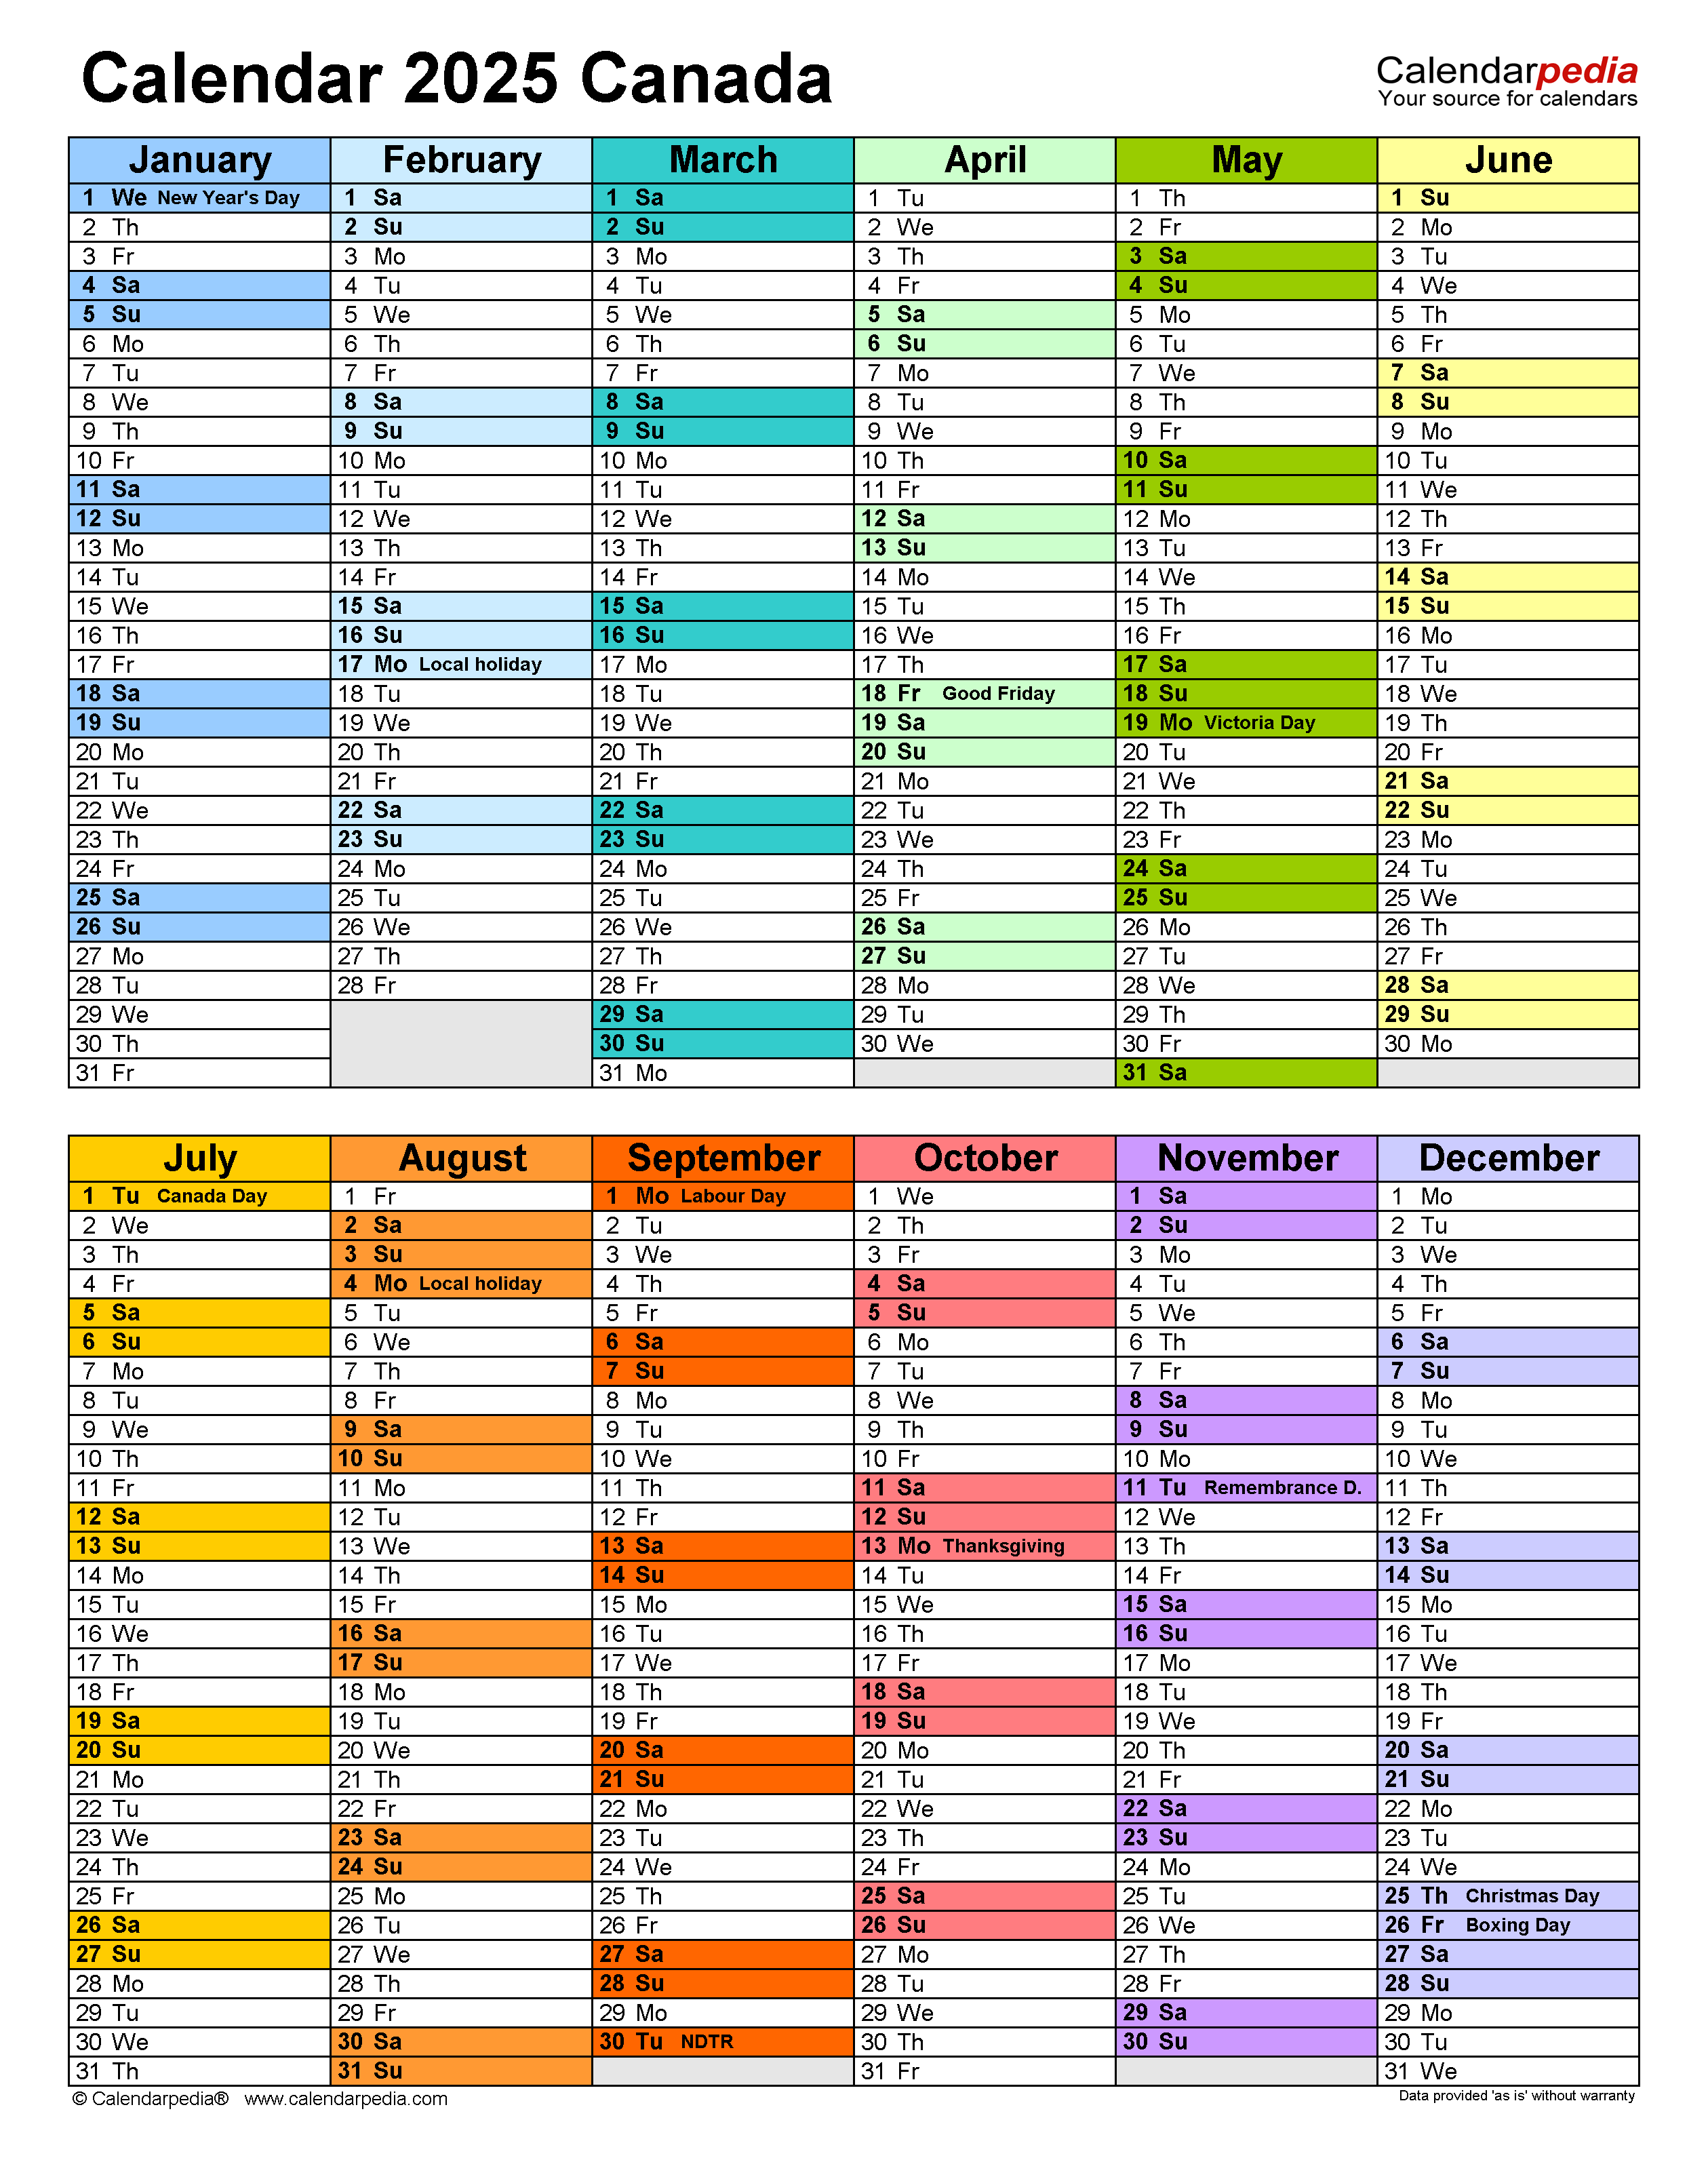
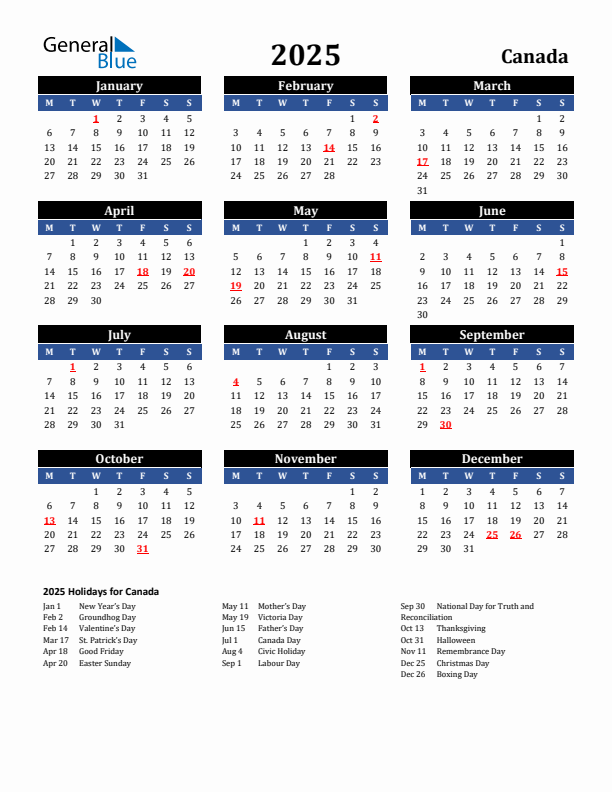
=OR(A2="New Year's Day",A2="Family Day",A2="Good Friday",A2="Easter Monday",A2="Victoria Day",A2="Canada Day",A2="Labour Day",A2="Thanksgiving Day",A2="Remembrance Day",A2="Christmas Day",A2="Boxing Day")This formula will highlight all of the holidays in Canada in 2025.
Step 6: Save the Calendar
Once you have finished creating the calendar, you can save it to your computer. To do this, click on the "File" tab and select "Save As." Then, enter a name for the file and select a location to save it.
Conclusion
Creating a 2025 Excel calendar for Canada is a simple and straightforward process. By following the steps outlined in this article, you can create a customized calendar that meets your specific needs.


Closure
Thus, we hope this article has provided valuable insights into 2025 Excel Calendar Canada: A Comprehensive Guide. We appreciate your attention to our article. See you in our next article!